


I consider myself a hobby photographer, not a professional photographer. This tutorial is for beginners, sharing what has worked for me.
Shutter Speed
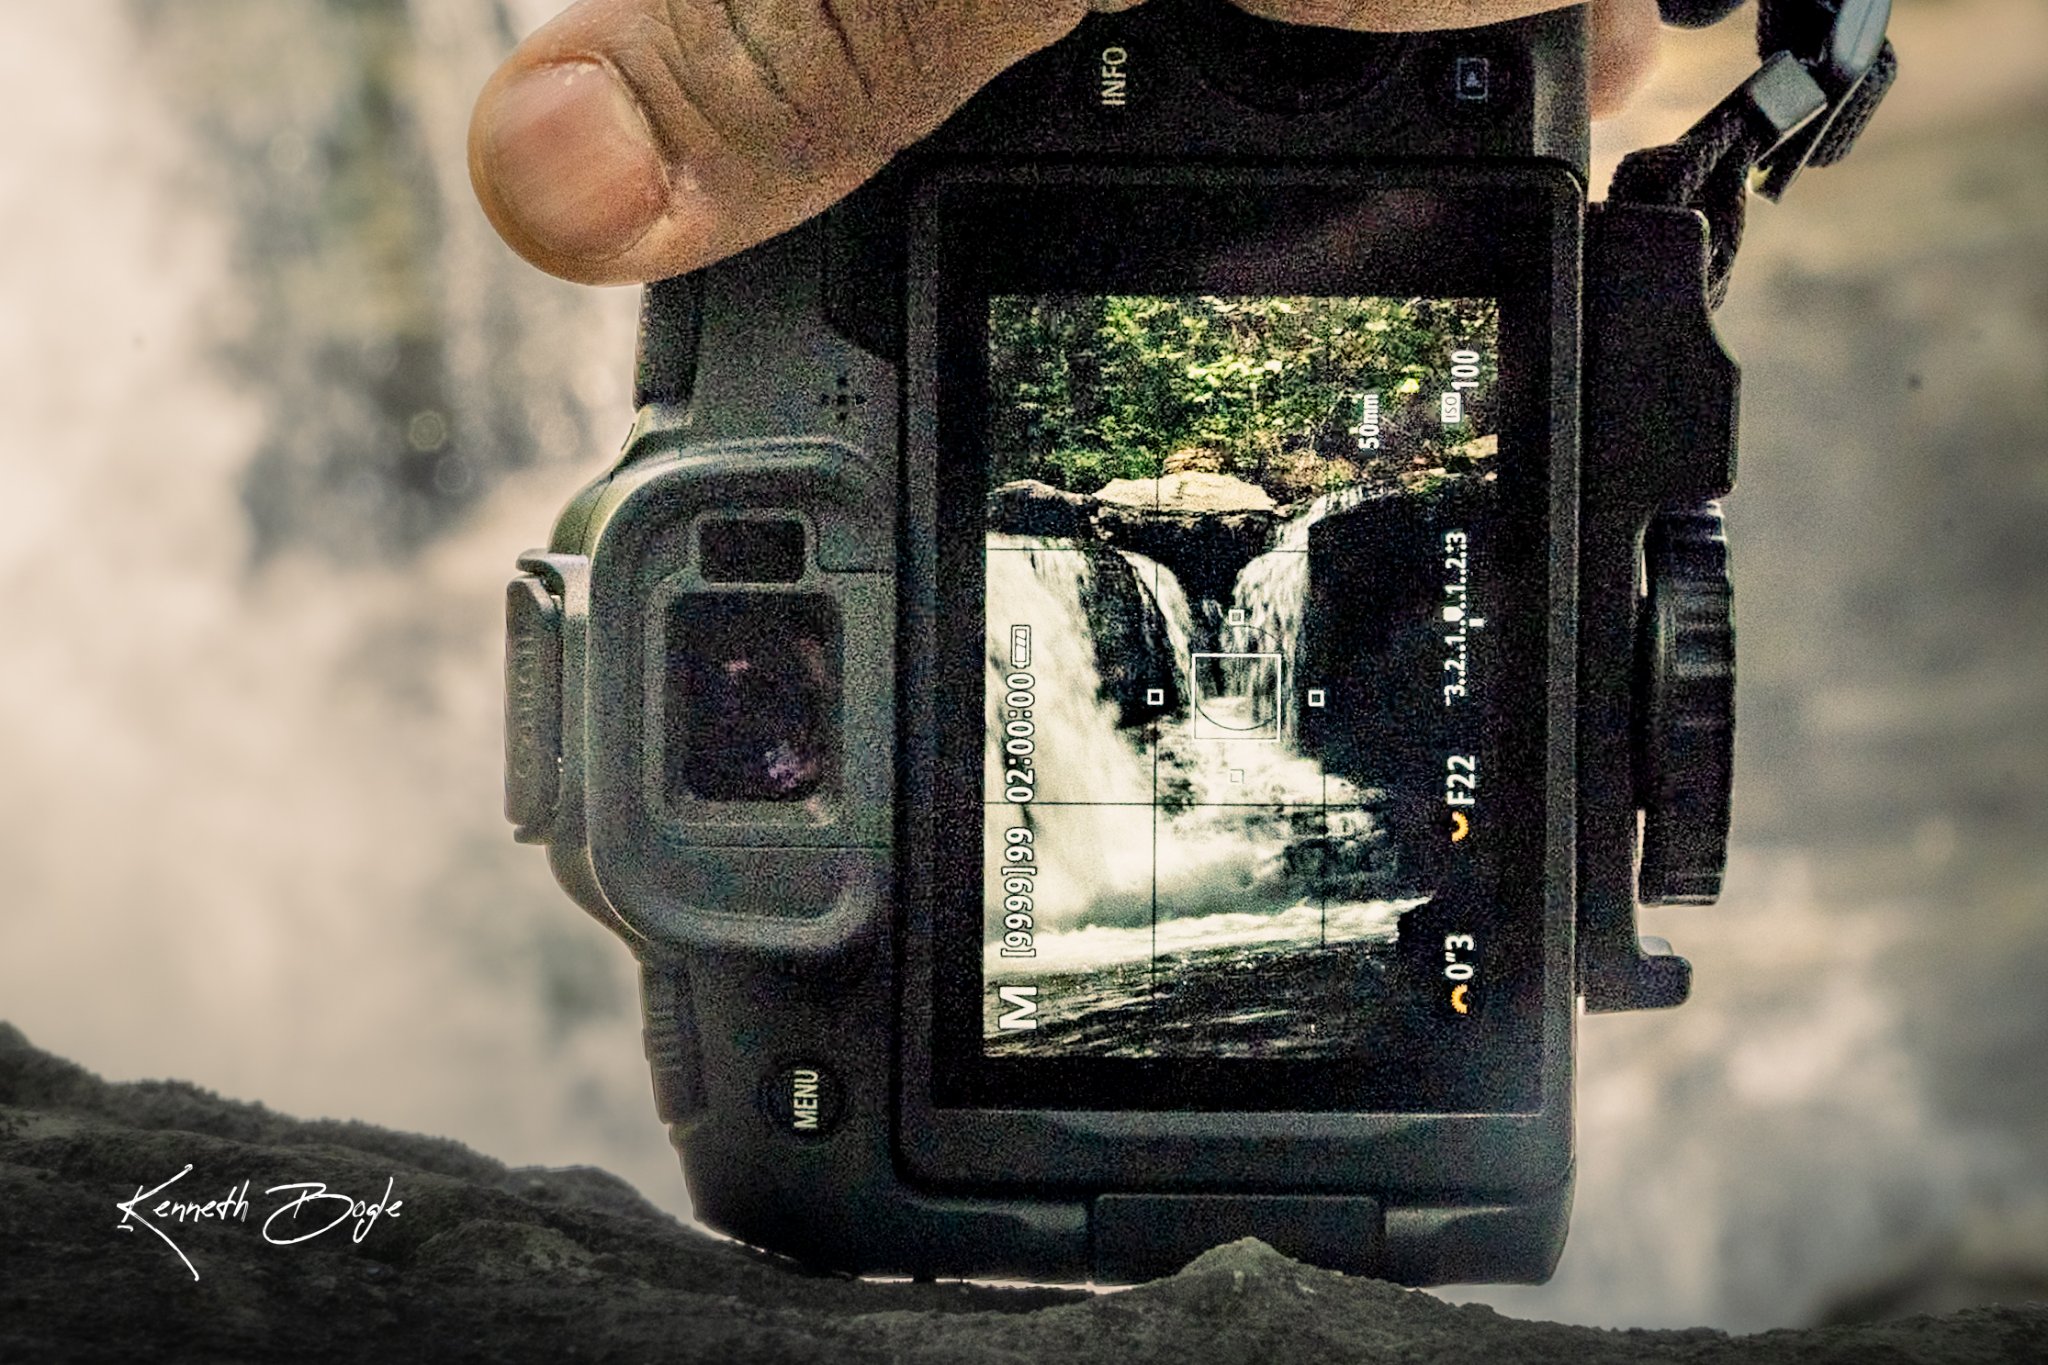
Shutter speed is how long the camera shutter stays open when you take a photo. A fast shutter speed freezes motion, so you can capture a bird in flight or a dog mid jump with no blur. A slow shutter speed blurs motion and lets in more light, which is how you get that silky smooth water in a waterfall photo. When I use a slow shutter, I always use a tripod, because even a tiny bit of camera shake will blur the whole photo.
Aperture
Aperture is the opening in your lens that lets light into the camera. It is measured with an f number. A small f number, like f2.8, means a wide opening that lets in a lot of light, and it gives you a soft blurred background behind your subject. A large f number, like f16, means a narrow opening that lets in less light, and it keeps more of the scene sharp from front to back.
ISO
ISO is how sensitive your camera sensor is to light. A low ISO, like 100, is best for bright light, and it gives you clean photos with almost no grain. A high ISO helps you shoot in dark light, but it adds grain, which looks like little speckles all over the photo. I keep my ISO as low as I can, and I only raise it when I really need to.
How They Work Together
Changing one setting changes the light in your photo, so the three settings work together as a team. If you want a faster shutter to freeze motion, you let in less light, so you open the aperture wider or raise the ISO to balance it out. Every photo is a balance of all three settings. My goal on every shot is simple. I want the photo bright enough, sharp enough, and with the motion I want, whether that is frozen or blurred.
What These Three Settings Let You Do
These three settings can allow you to do all kinds of shots, and I will cover them in other tutorials. You can blur waterfalls, capture star trails, and catch sunbeams in the woods, all with the same three settings. If you want to see what is coming next, head back to my Photography Tutorials for Beginners page for the full list.
If you want help setting these settings on your own camera, get with Wilson’s Photography for lessons, or search YouTube.