

I consider myself a hobby photographer, not a professional photographer. This tutorial is for beginners, sharing what has worked for me.
What Is a Sunburst
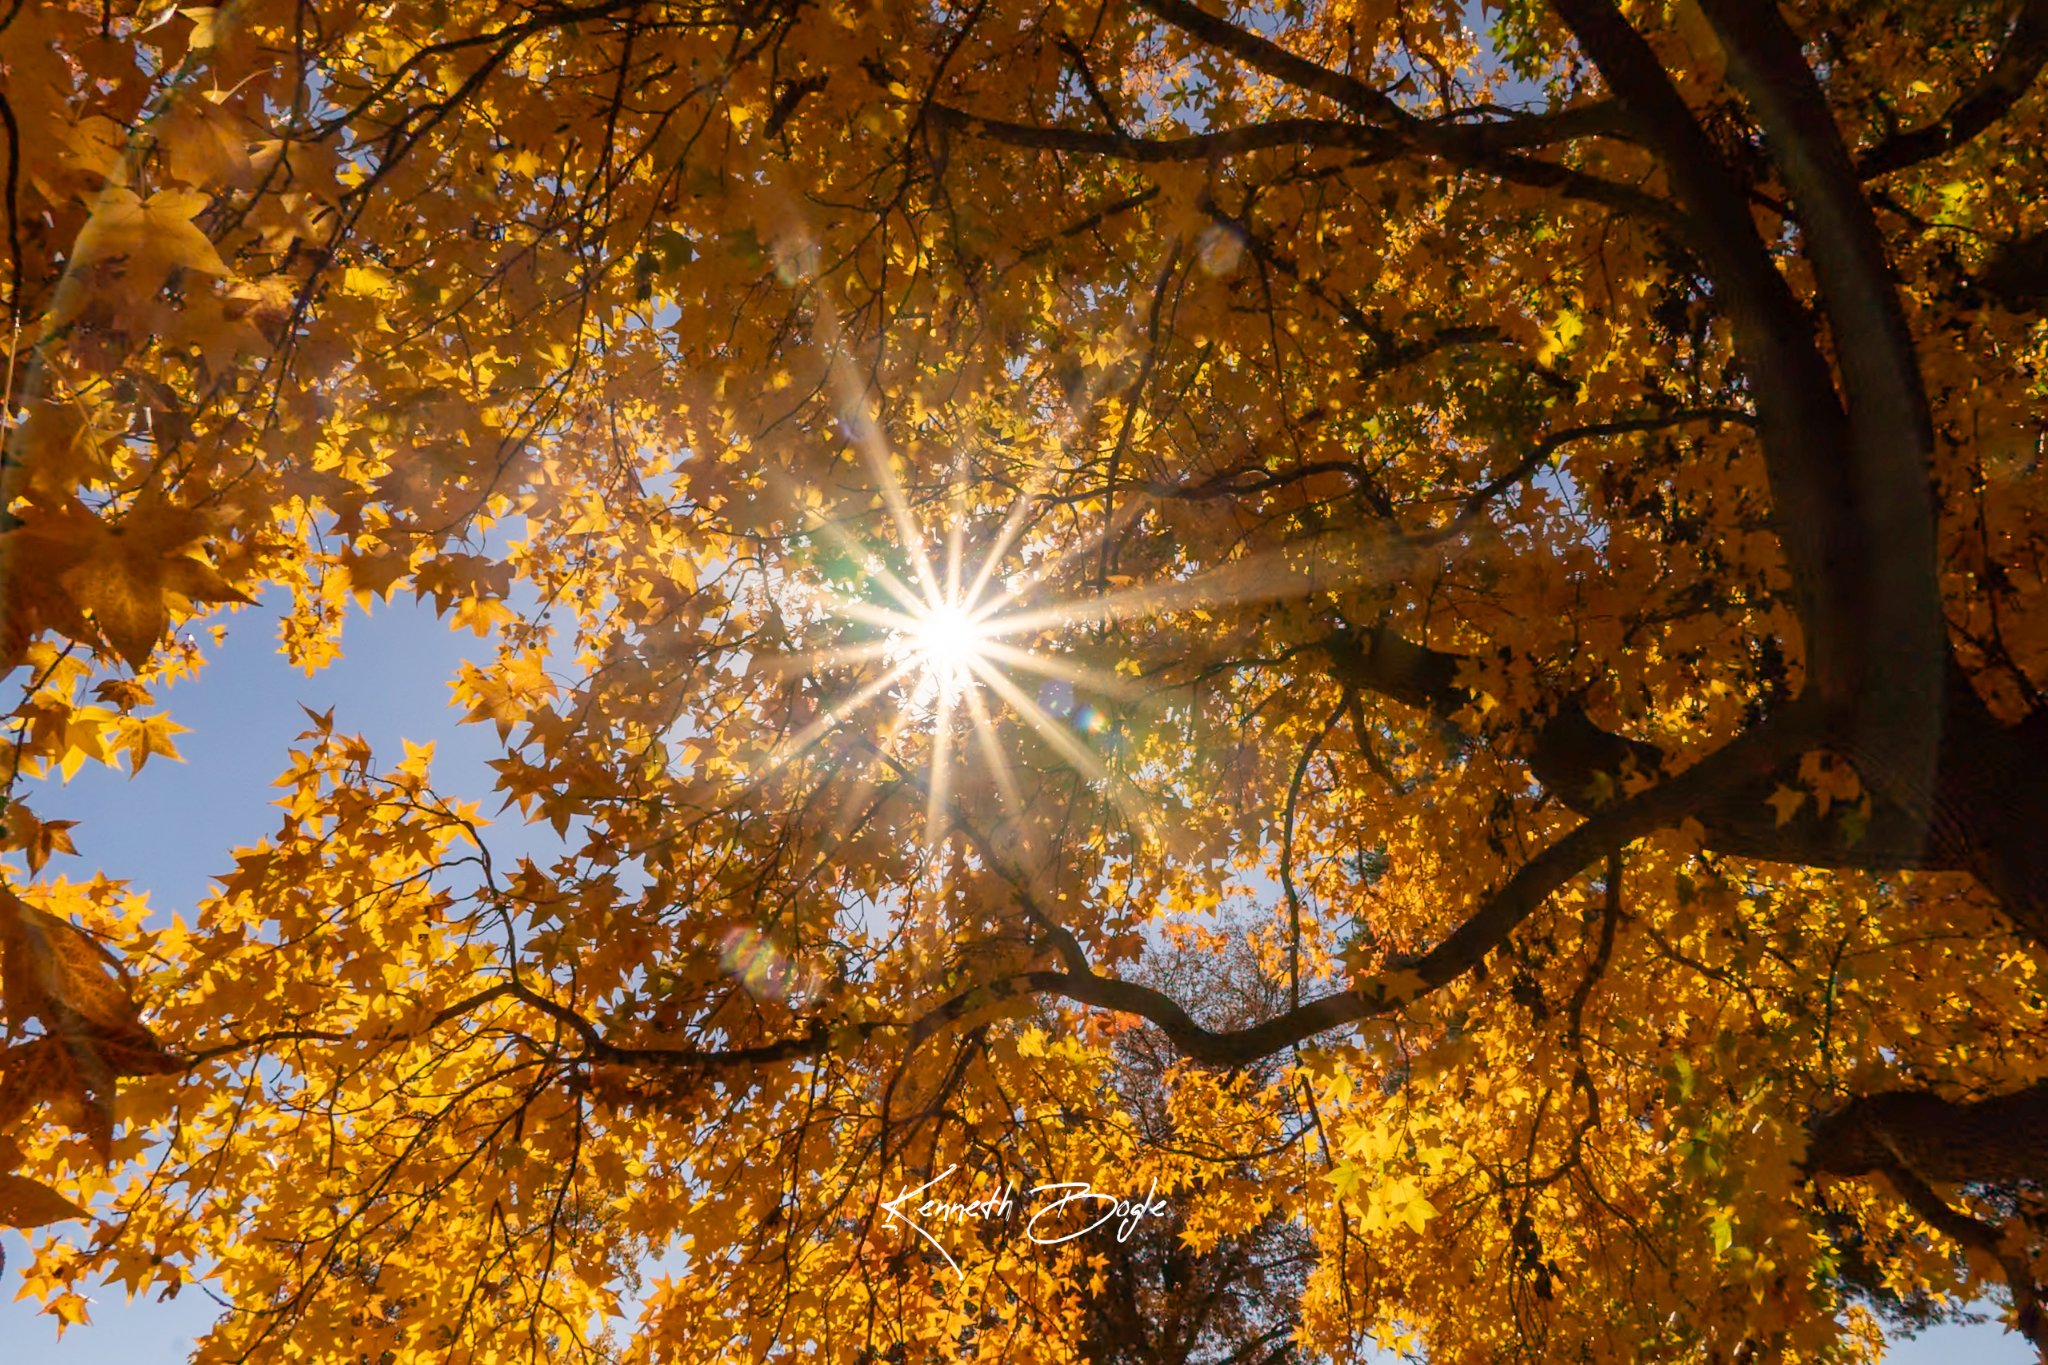
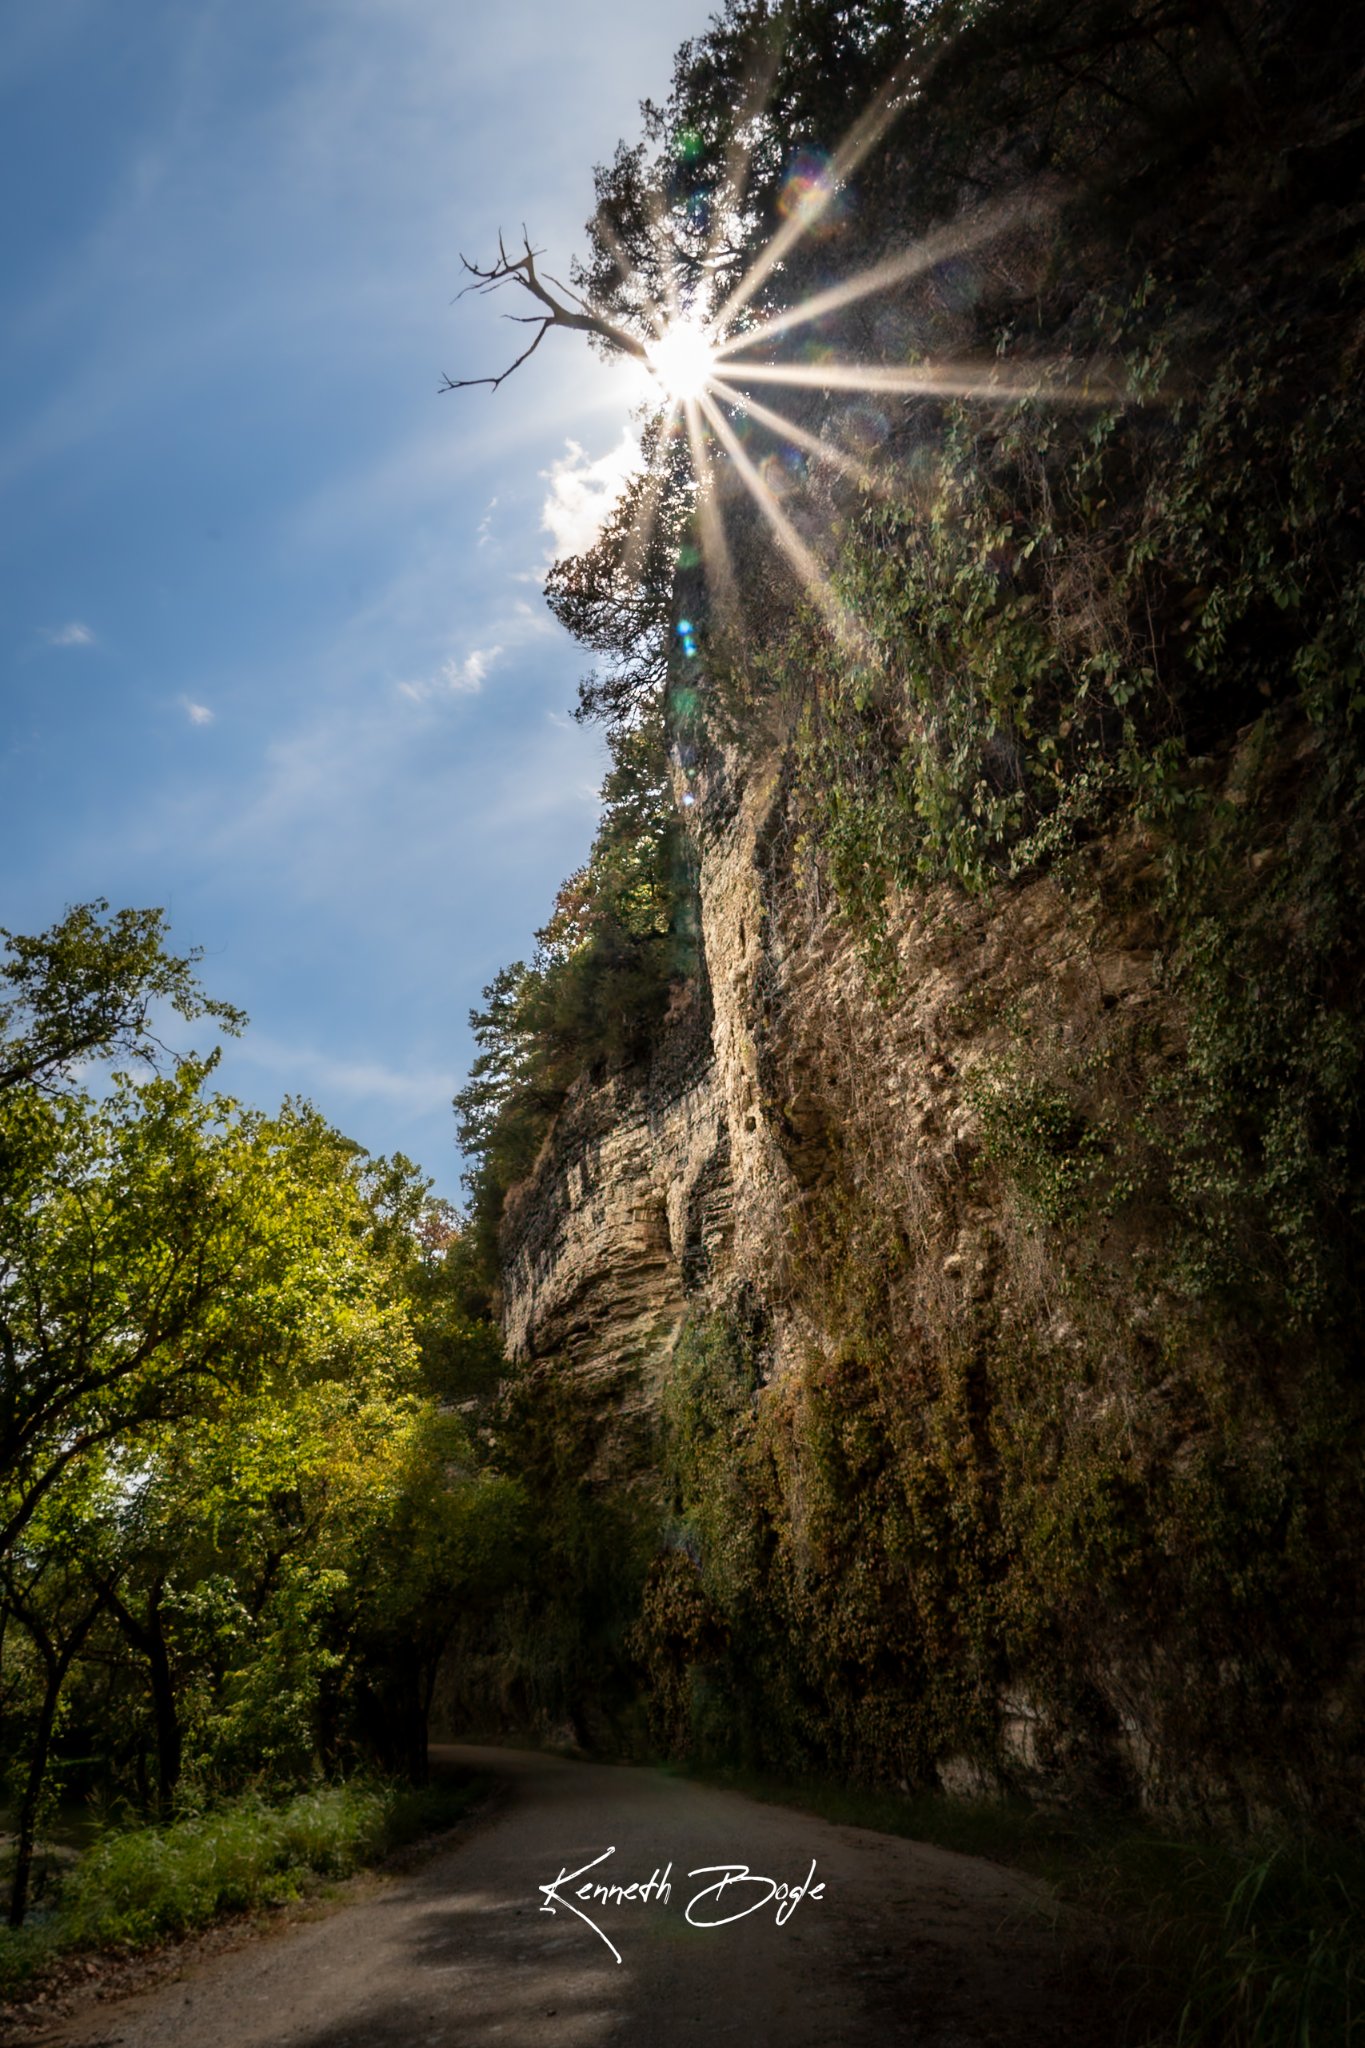
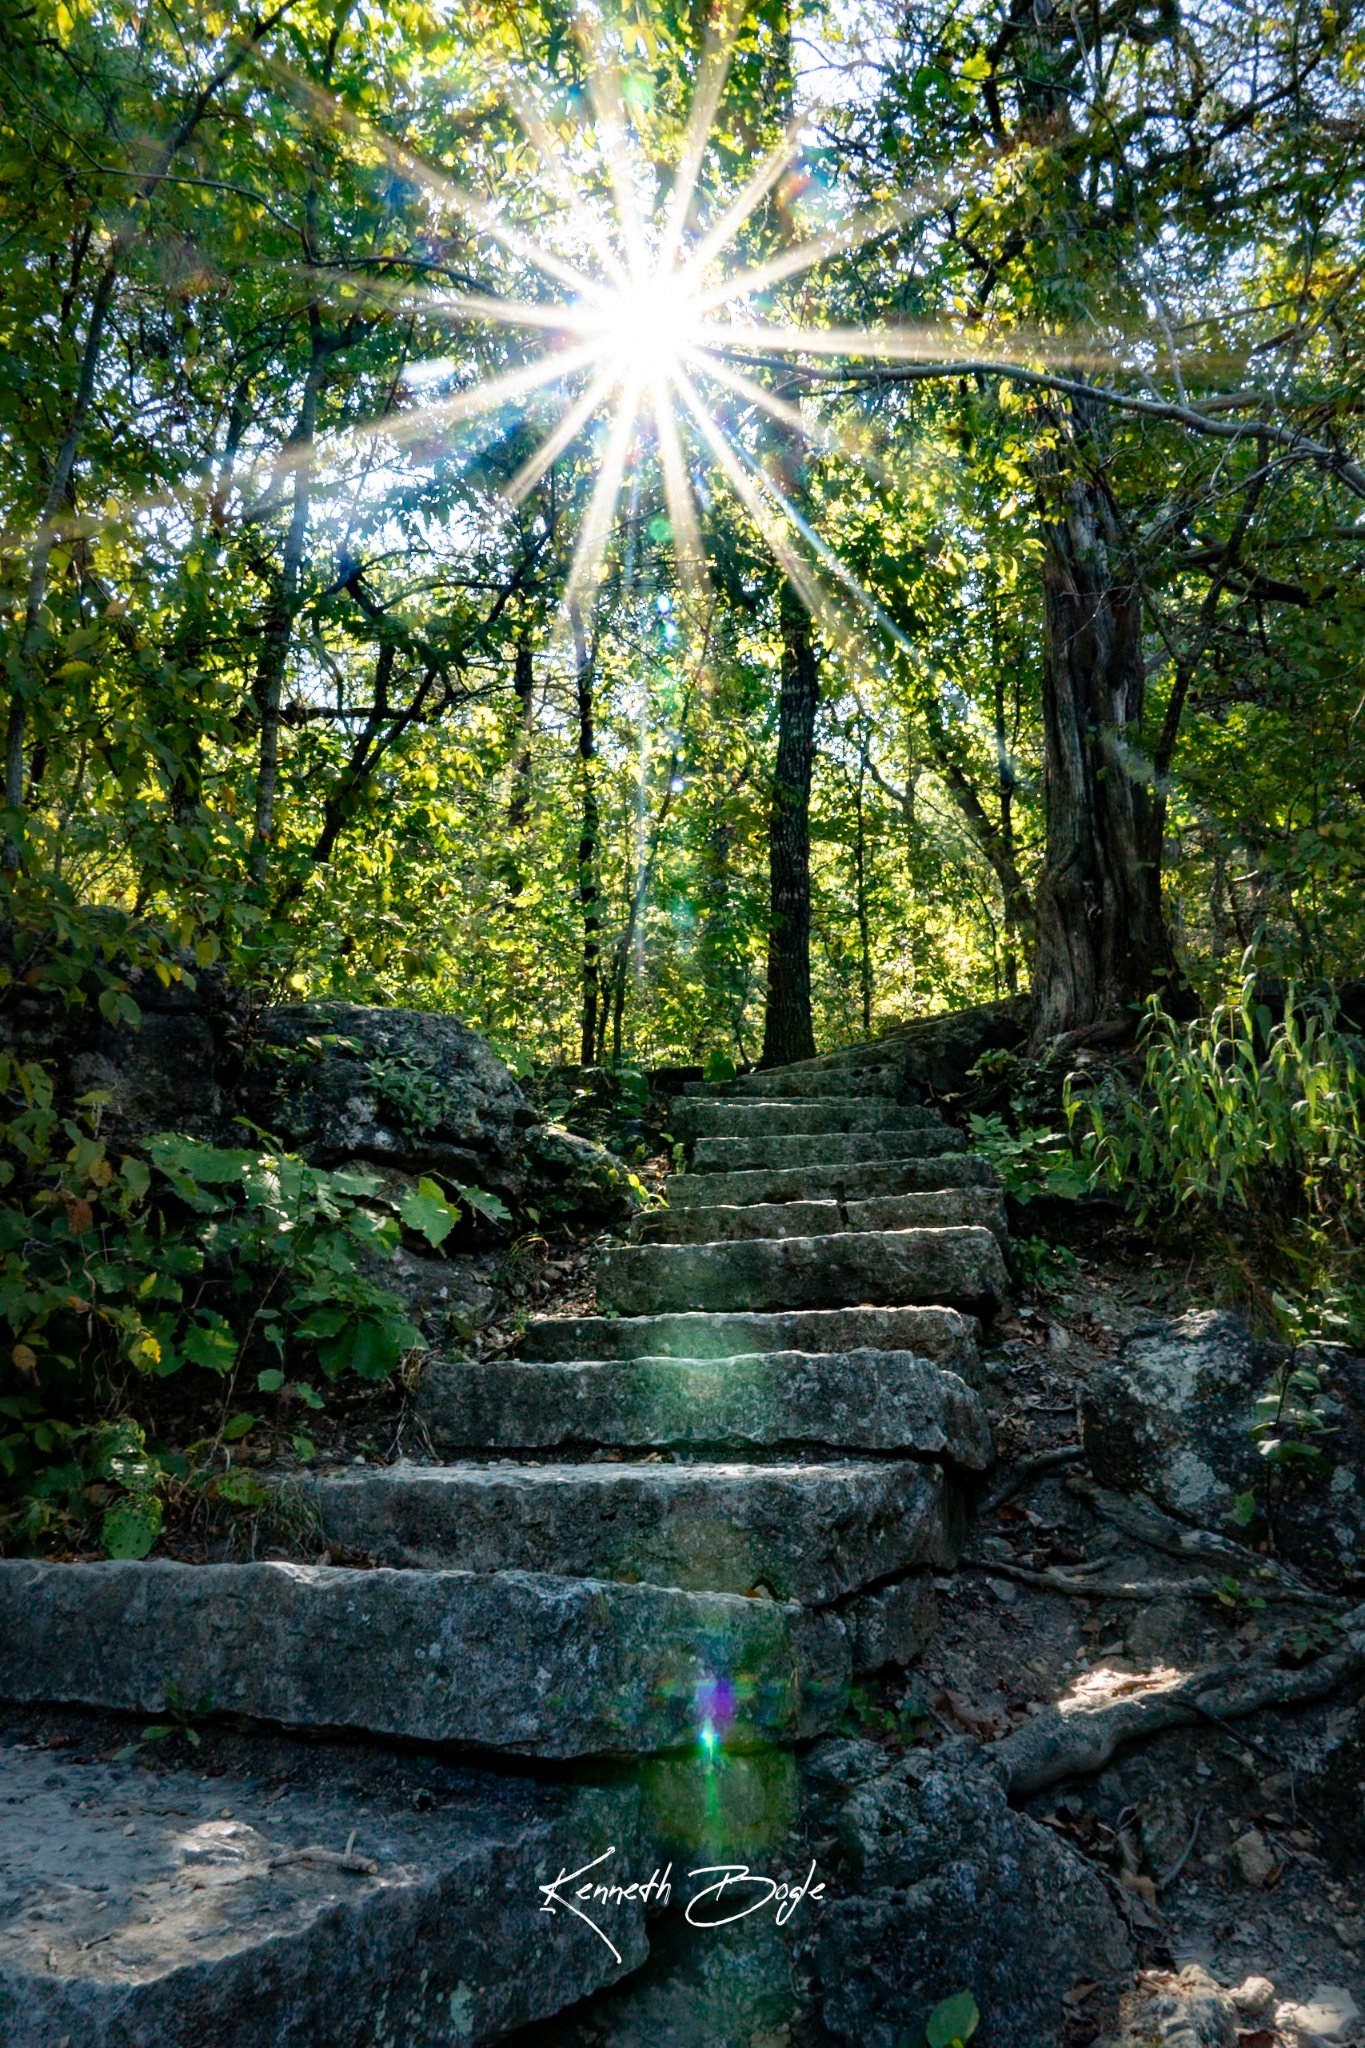
A sunburst is that star of pointed rays you see around the sun or another bright light. You have probably seen it in landscape photos, where the sun wears a little crown of sharp spikes. Light beams are something different. They are rays of light shining through trees, mist, or dust. Think of the light in a forest on a foggy morning, or dusty air in an old barn when the sun finds a crack in the wall. Both effects are easier to catch than you might think, and both come from learning to see light the way your camera sees it.
Aperture and Sunbursts
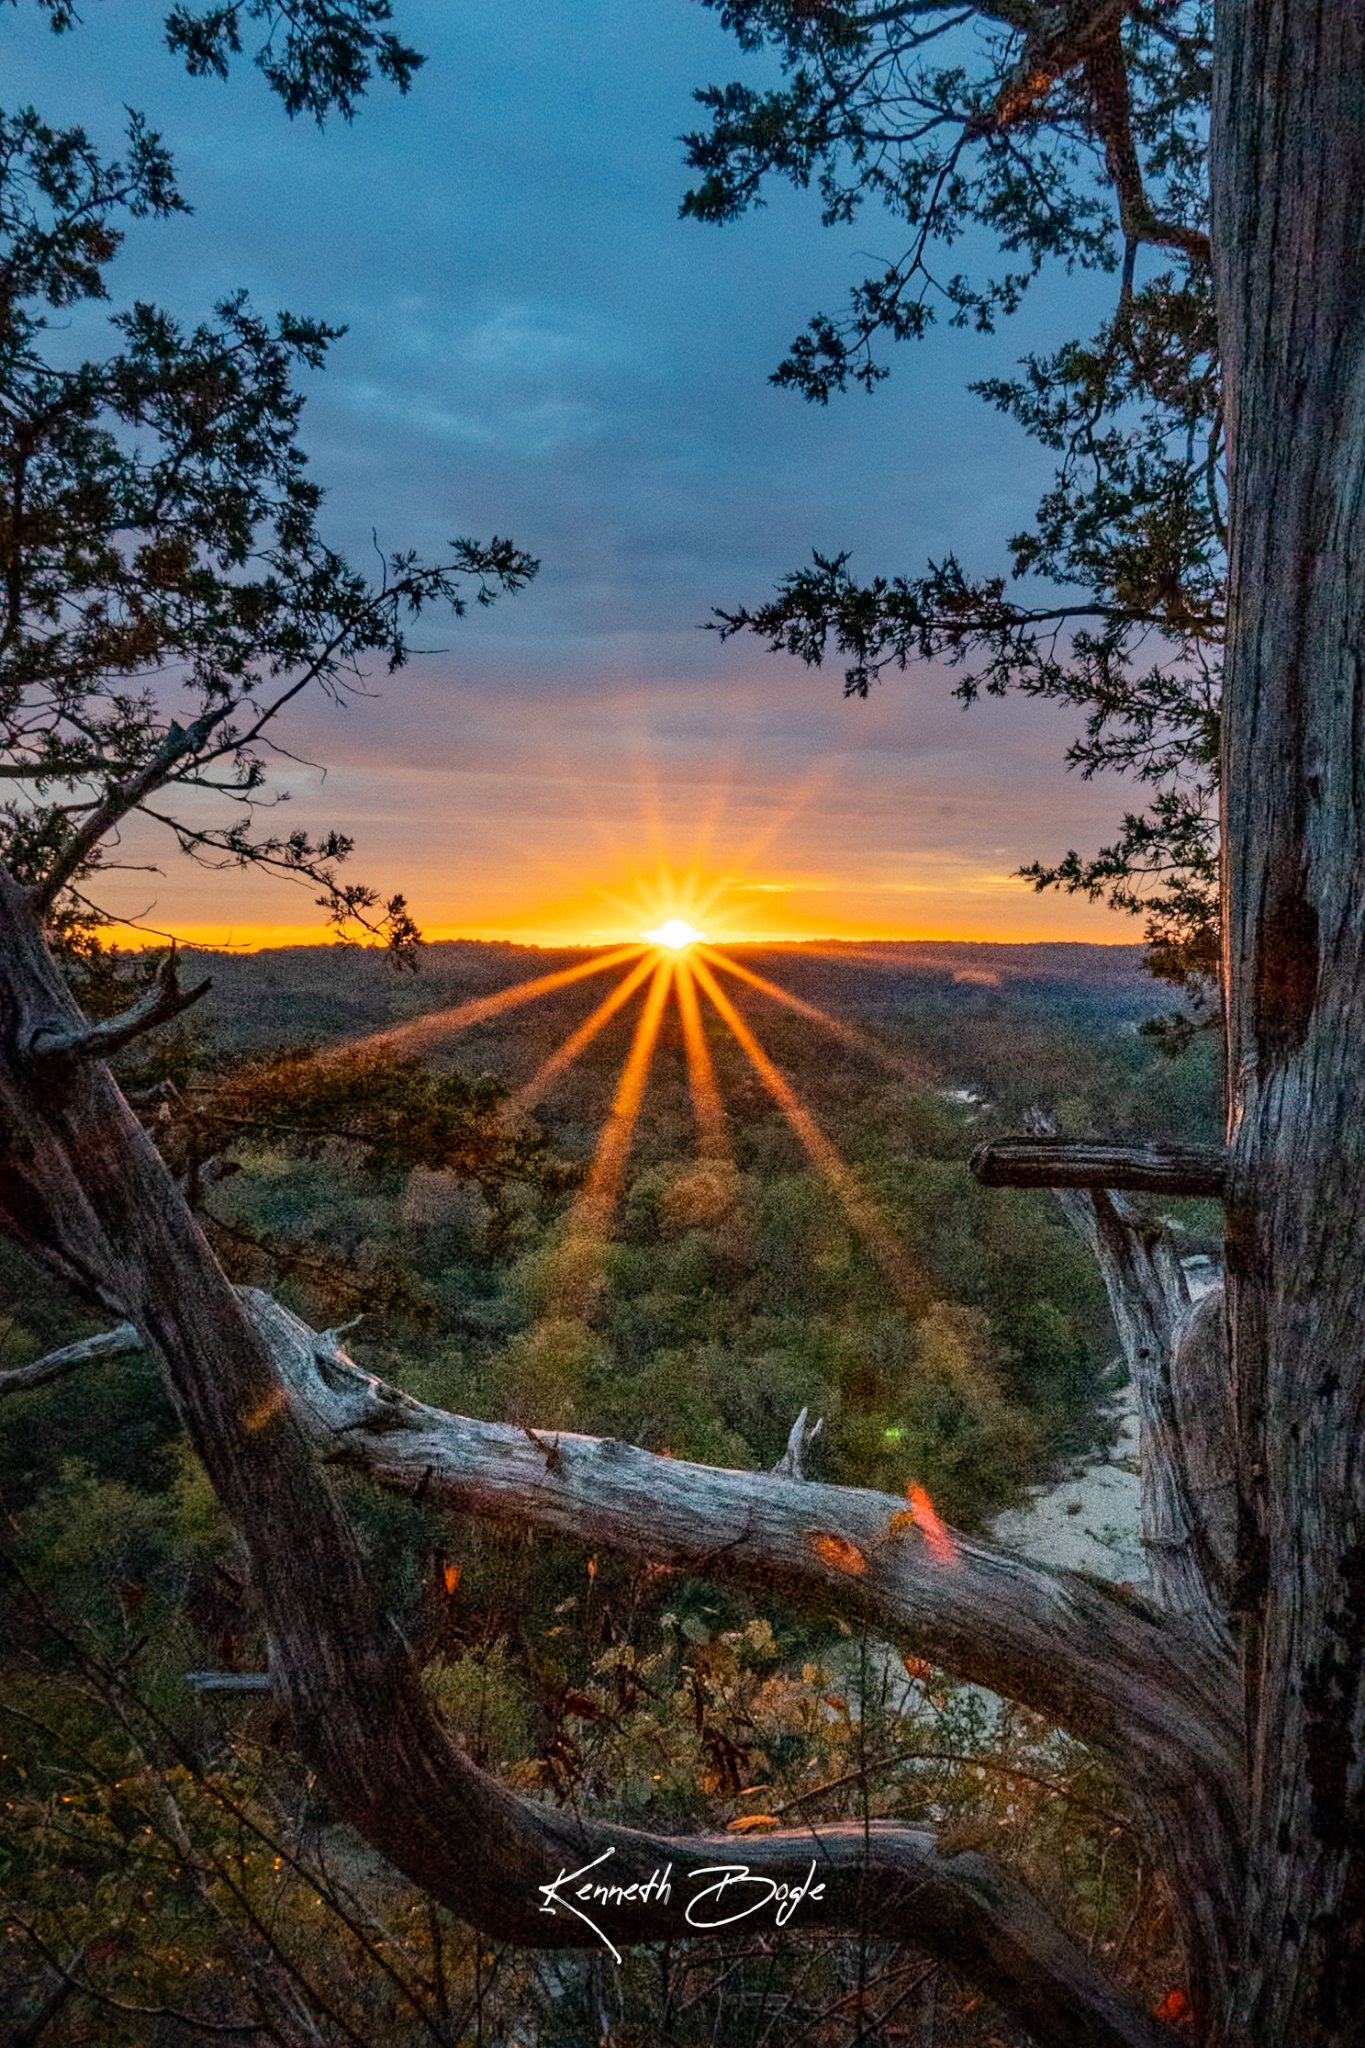
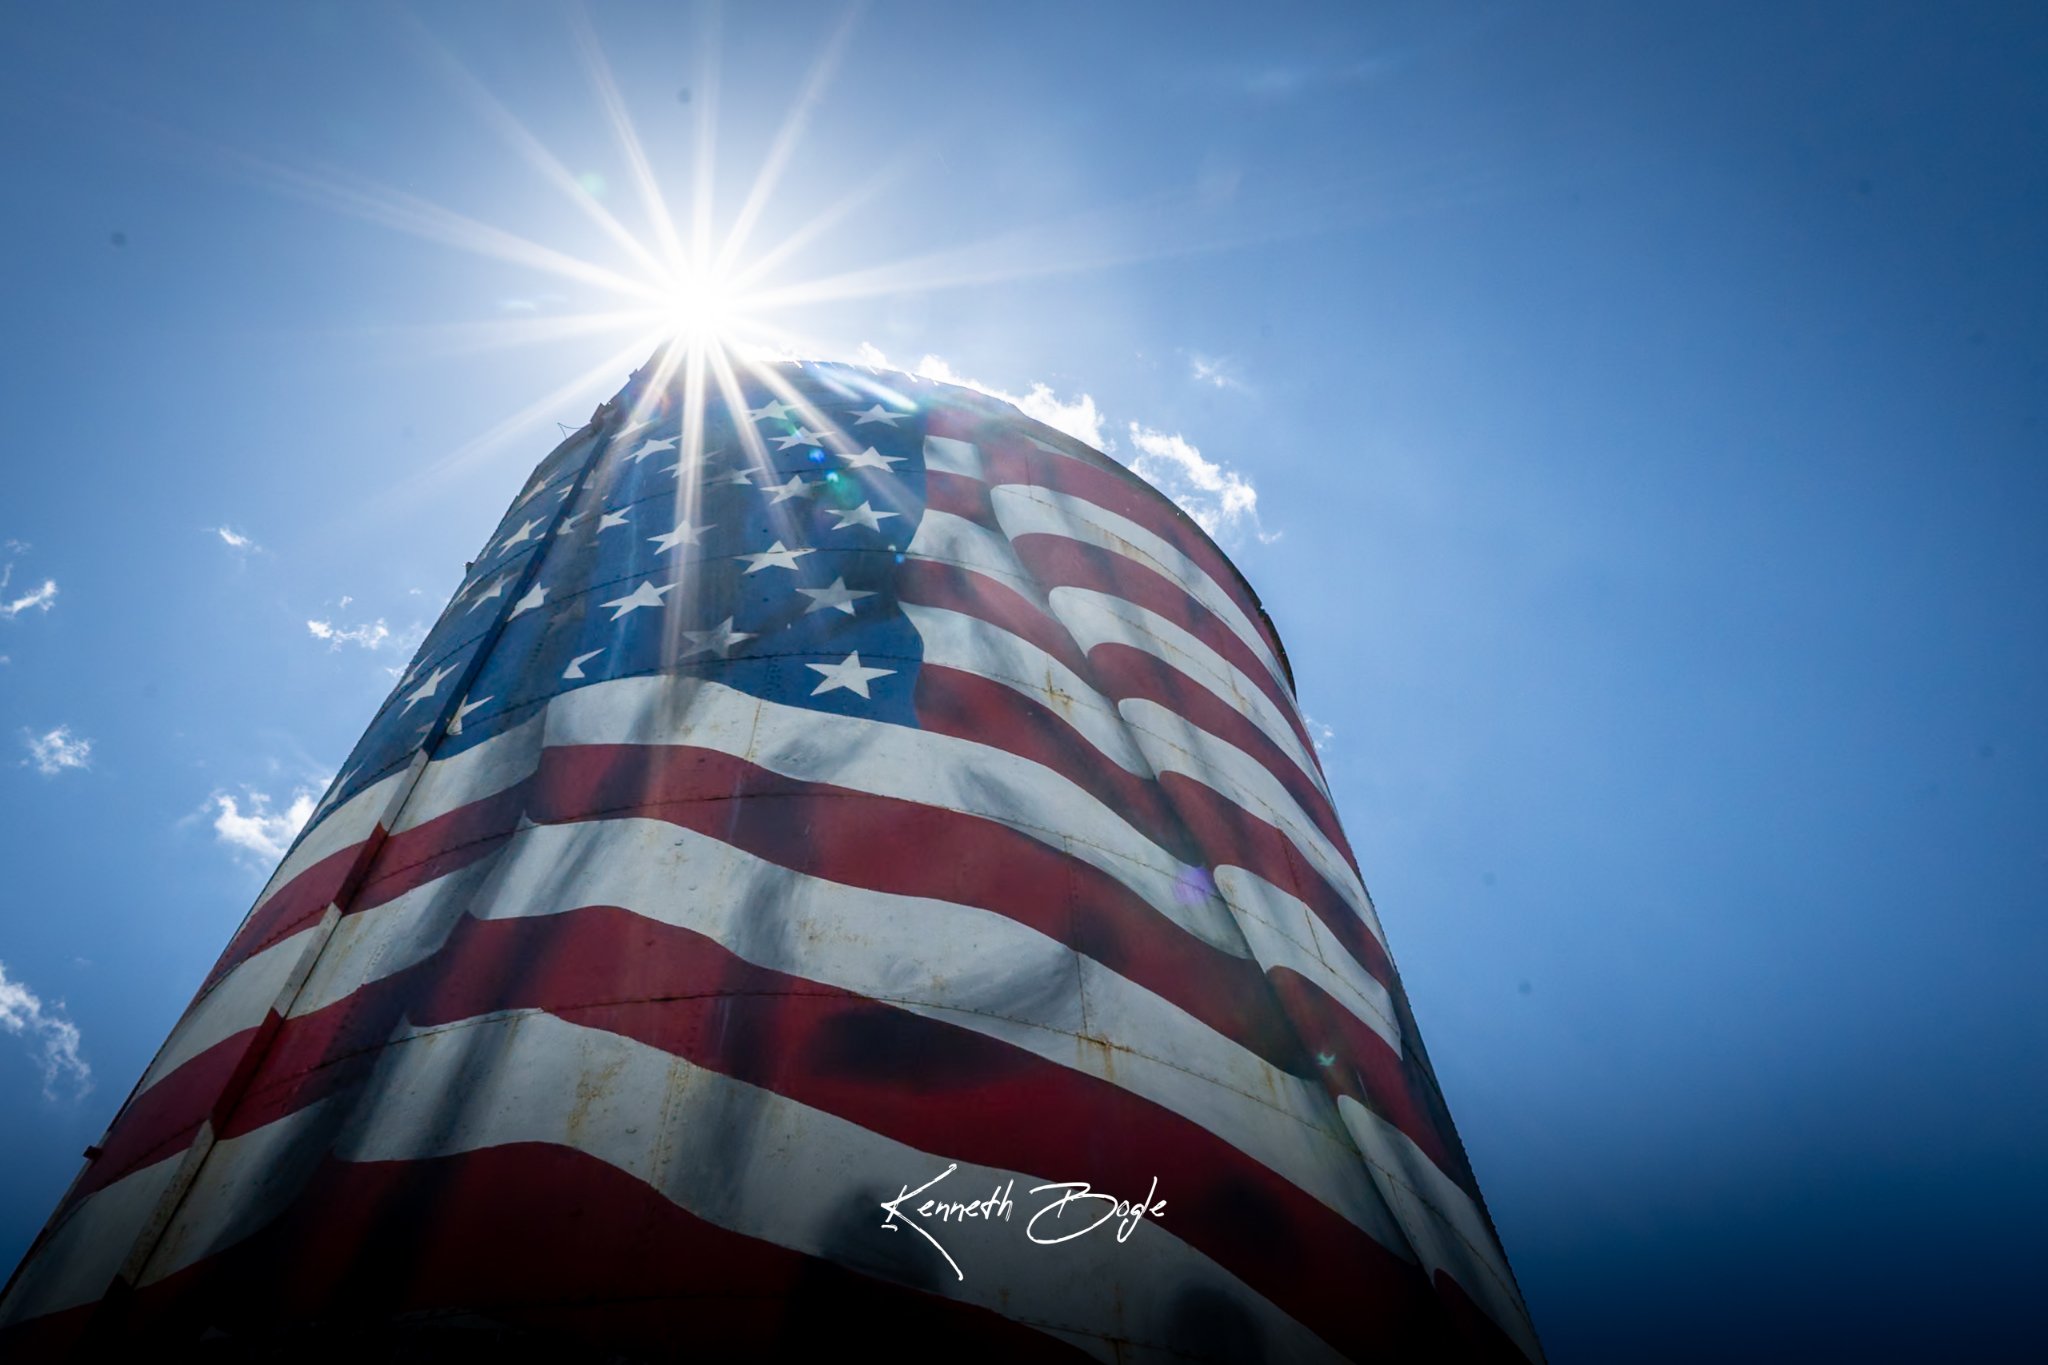
The secret to a sunburst is a small aperture. Try f16 to f22 and watch those rays turn sharp and pointed. A wider aperture gives you a soft round glow instead, which can be pretty, but it is not a sunburst. The number of points on your star depends on your lens. Count the aperture blades inside your lens. If the number is even, you get that many points. If the number is odd, you get double that many. So a lens with 7 blades gives you 14 points. One more thing I have learned the hard way. Keep your lens clean. Dust and smudges blur the rays and soften the whole effect.
How to Take the Shot
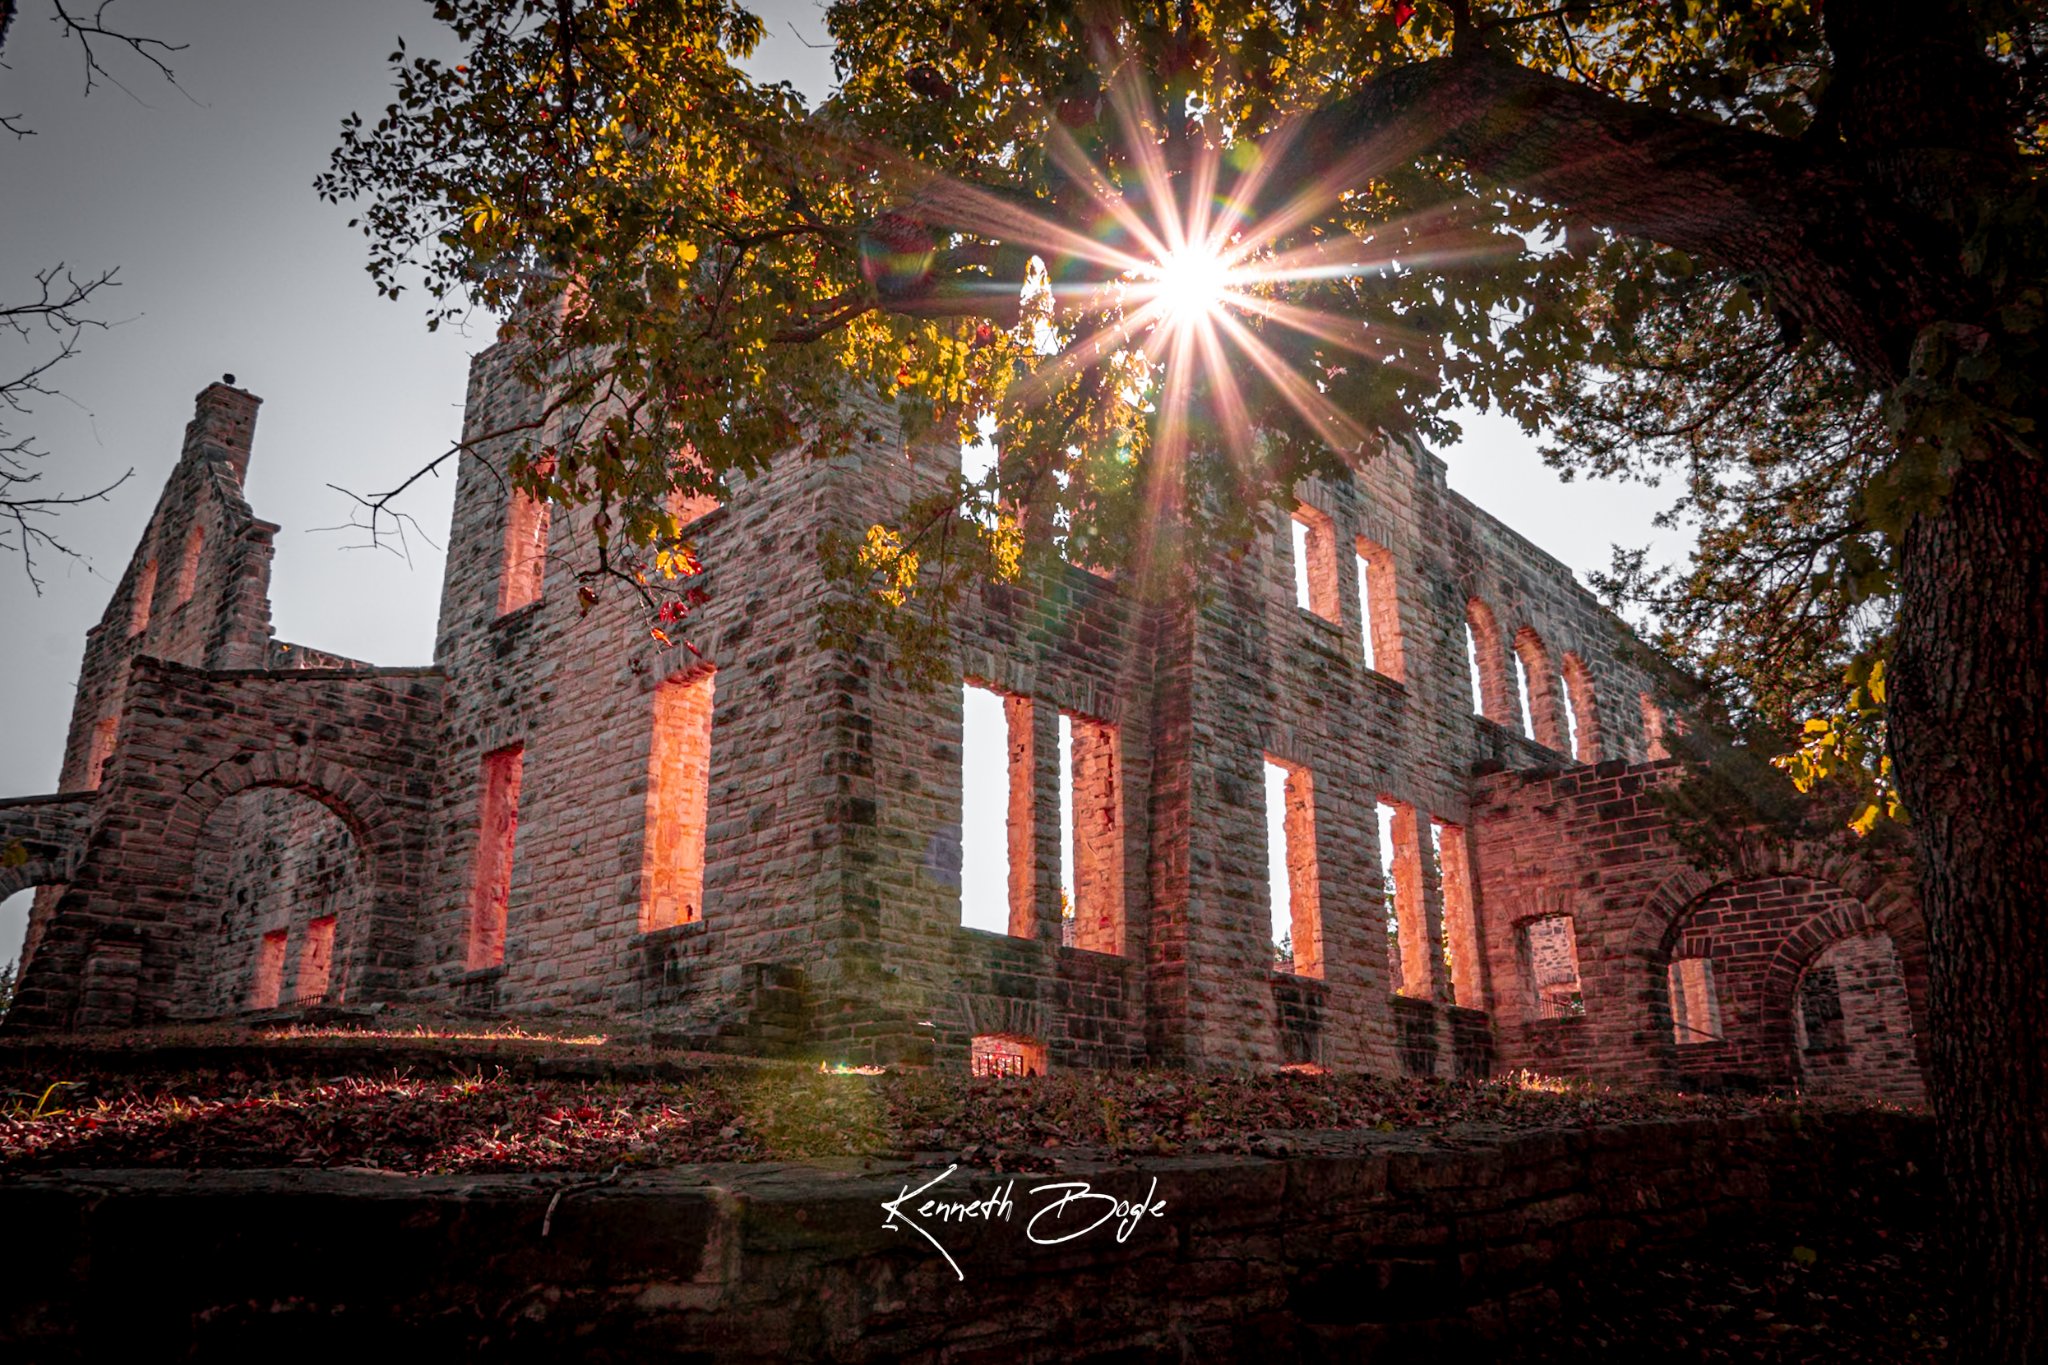
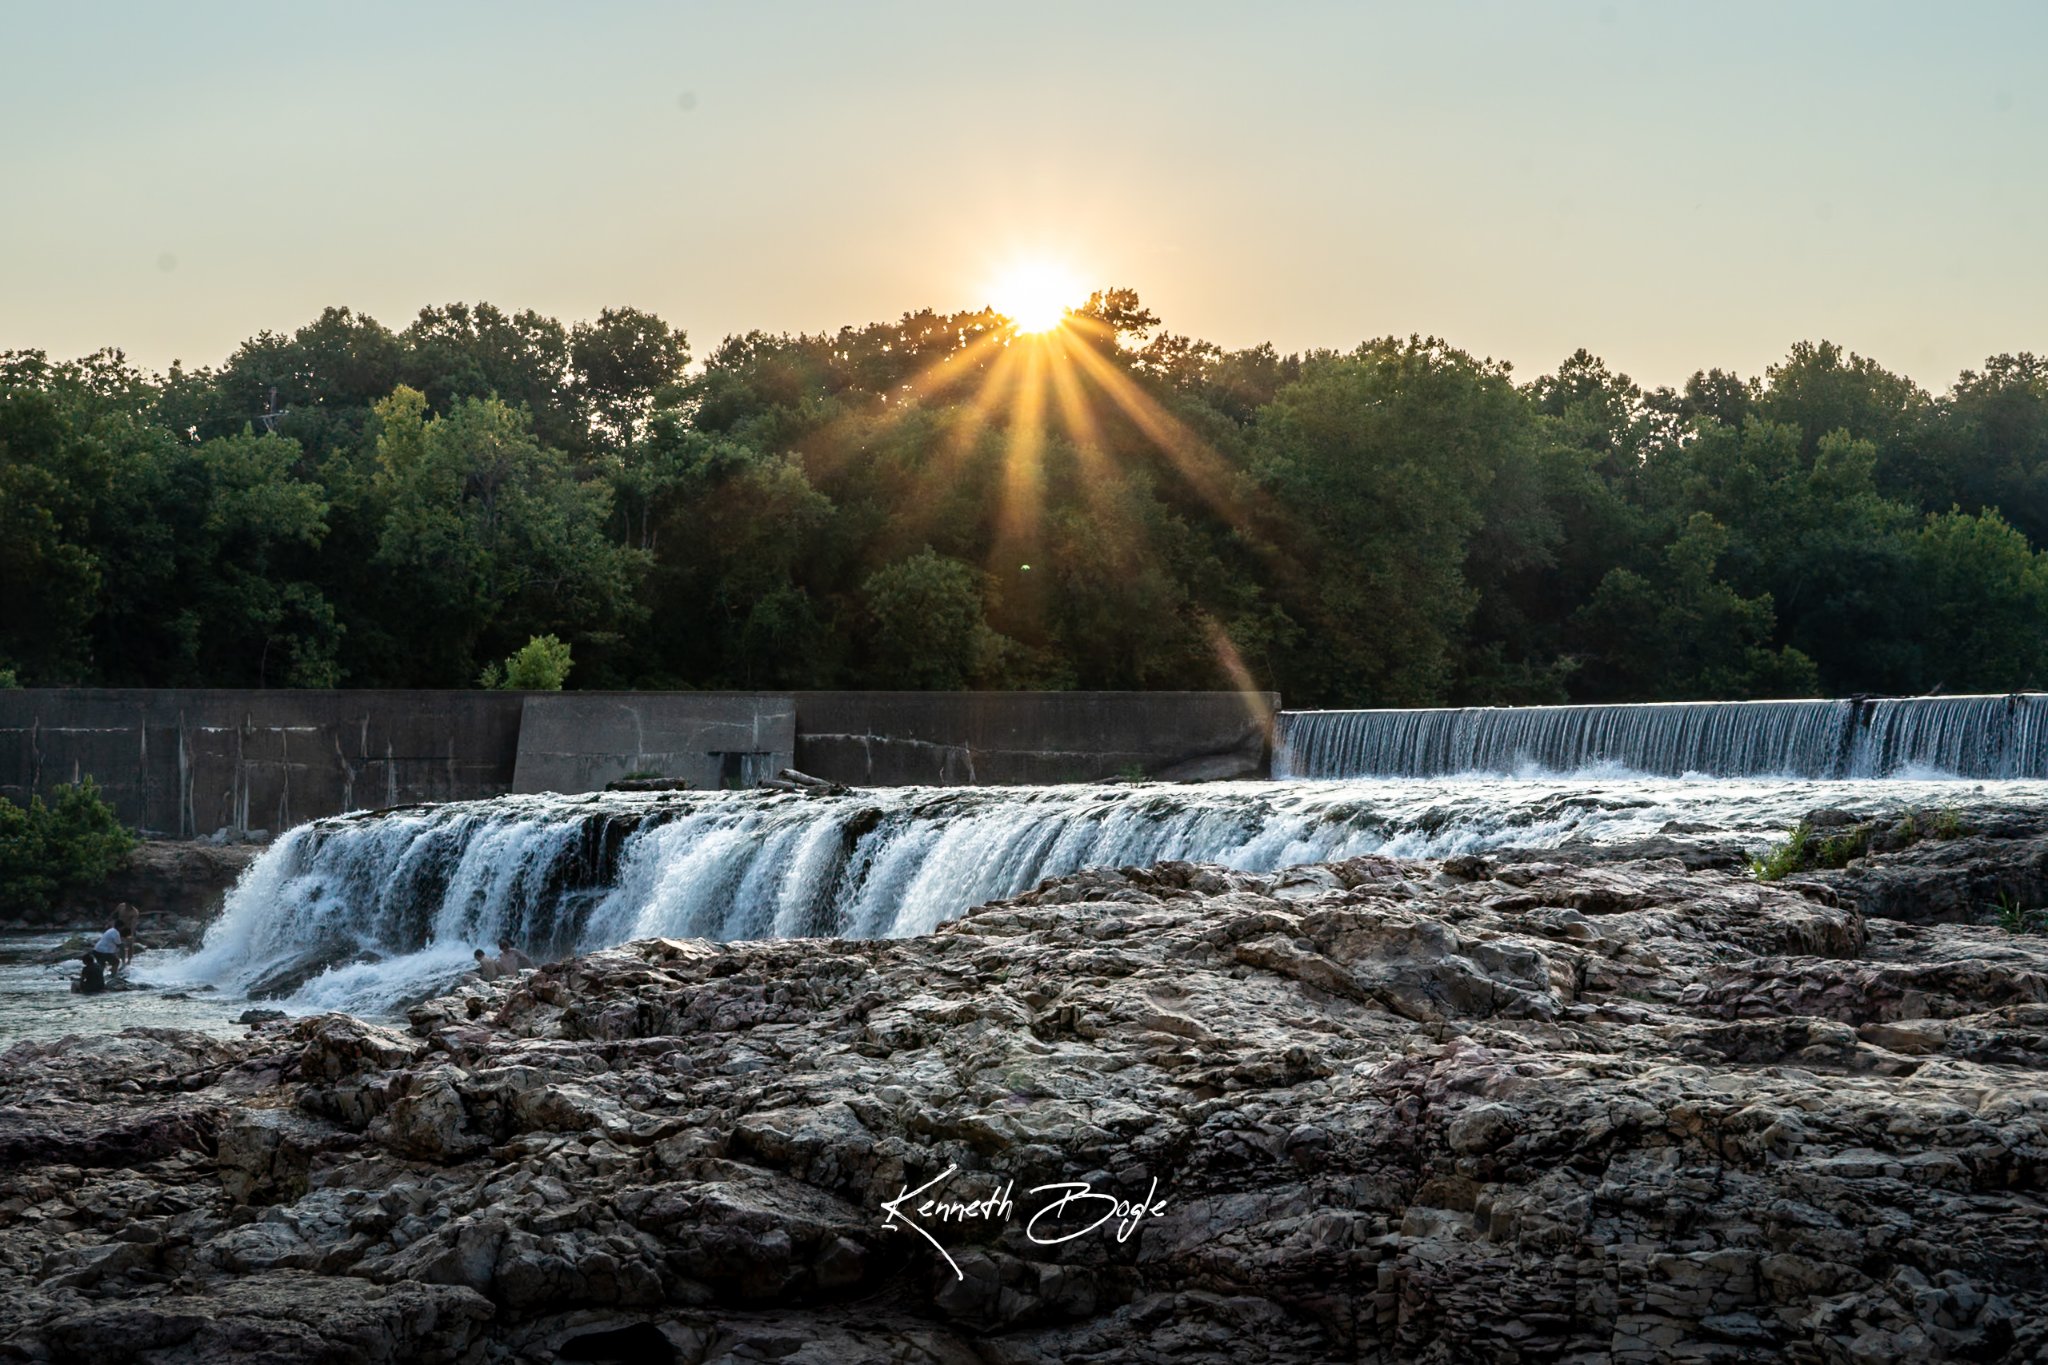
Put your camera on Manual. Start at ISO 100 and f16, then let the shutter speed set the brightness of the photo. Focus on your main subject, not on the sun. Now here is the trick I use most. Tuck the sun just behind a tree branch, a rock edge, or the edge of a building, so only part of it peeks out. Letting just a sliver of sun show makes the burst cleaner and stronger. If your shutter speed gets slow, put the camera on a tripod so nothing moves while the picture is being taken.
Light Beams
Light beams need something in the air for the light to catch. Shoot toward the light in the early morning or late evening, and look for mist, fog, dust, or sunlight coming through trees. Keep the bright light just out of the frame or partly hidden behind something. That way the beams show up without blowing out the whole photo. A smaller aperture, somewhere from f8 to f16, helps keep both the beams and the scene sharp.
Common Problems
Here are the troubles I run into, and what fixes them for me.
Sunburst too soft. Your aperture is too wide. Close it down toward f16 or f22 and try again.
Whole photo too dark. The sun is fooling your meter. Brighten things up with a slower shutter speed.
Flare spots. Clean your lens, then try moving a step or two to change the angle.
Beams not showing. There is no mist or dust in the air to catch the light. Try earlier or later in the day, when the air holds more moisture and the light comes in lower.
Try It Here
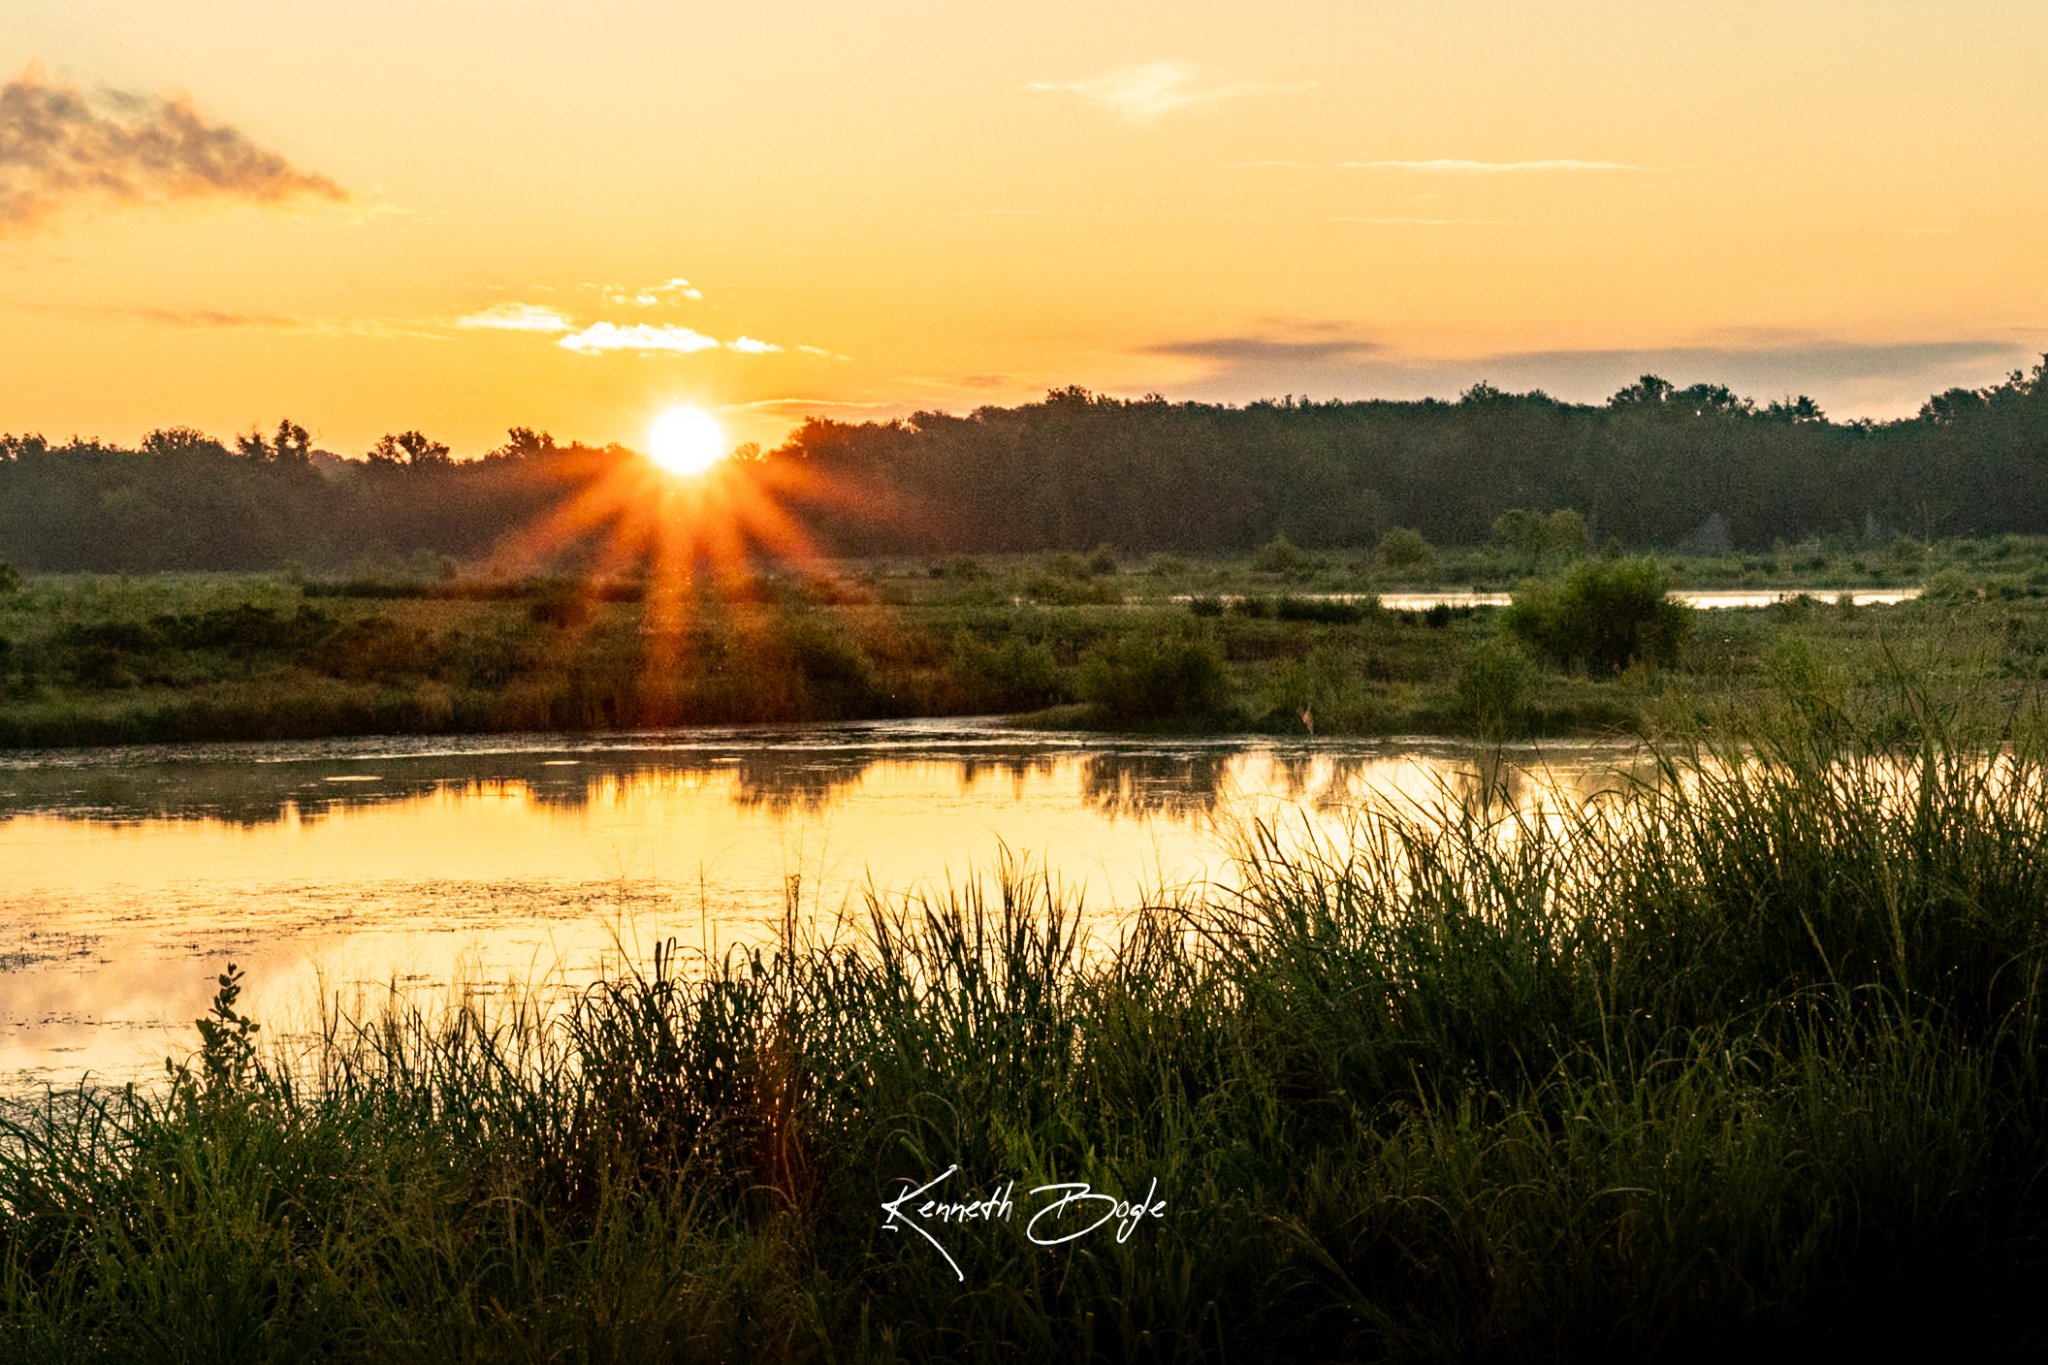
Try this at sunrise or sunset around Joplin. Find a spot where the sun sits low and partly behind the trees. Parks and trailheads are perfect for this, since the trees give you edges to tuck the sun behind.
Want to Go Further?
If you enjoyed working with a tripod and slower shutter speeds, my Long Exposure Waterfalls tutorial takes those ideas further with moving water.